Configure single number reach for a user
Single number reach is a mobility feature providing the following functionality:
- Receive calls on an alternate phone - Single number reach allows calls placed to a user’s office phone to ring any phone(s) set up with the feature. Most users designate their mobile phone for their single number reach phone.
- Place calls from an alternate phone - Users can place calls that display the outbound caller ID of their desktop phone from their single number reach phone.
- “Push” and “pull” active calls between desktop and mobile phones - When on an active call using a desk phone, users can push that call to their single number reach phone. Alternately, while on an active call on a designated single number reach phone, users can pull the call to their desk phone.
- Place long distance and international calls from an alternate phone - When users place long distance or international calls from a single number reach phone, usage is tracked and reflected on your invoice just as any other toll calls would.
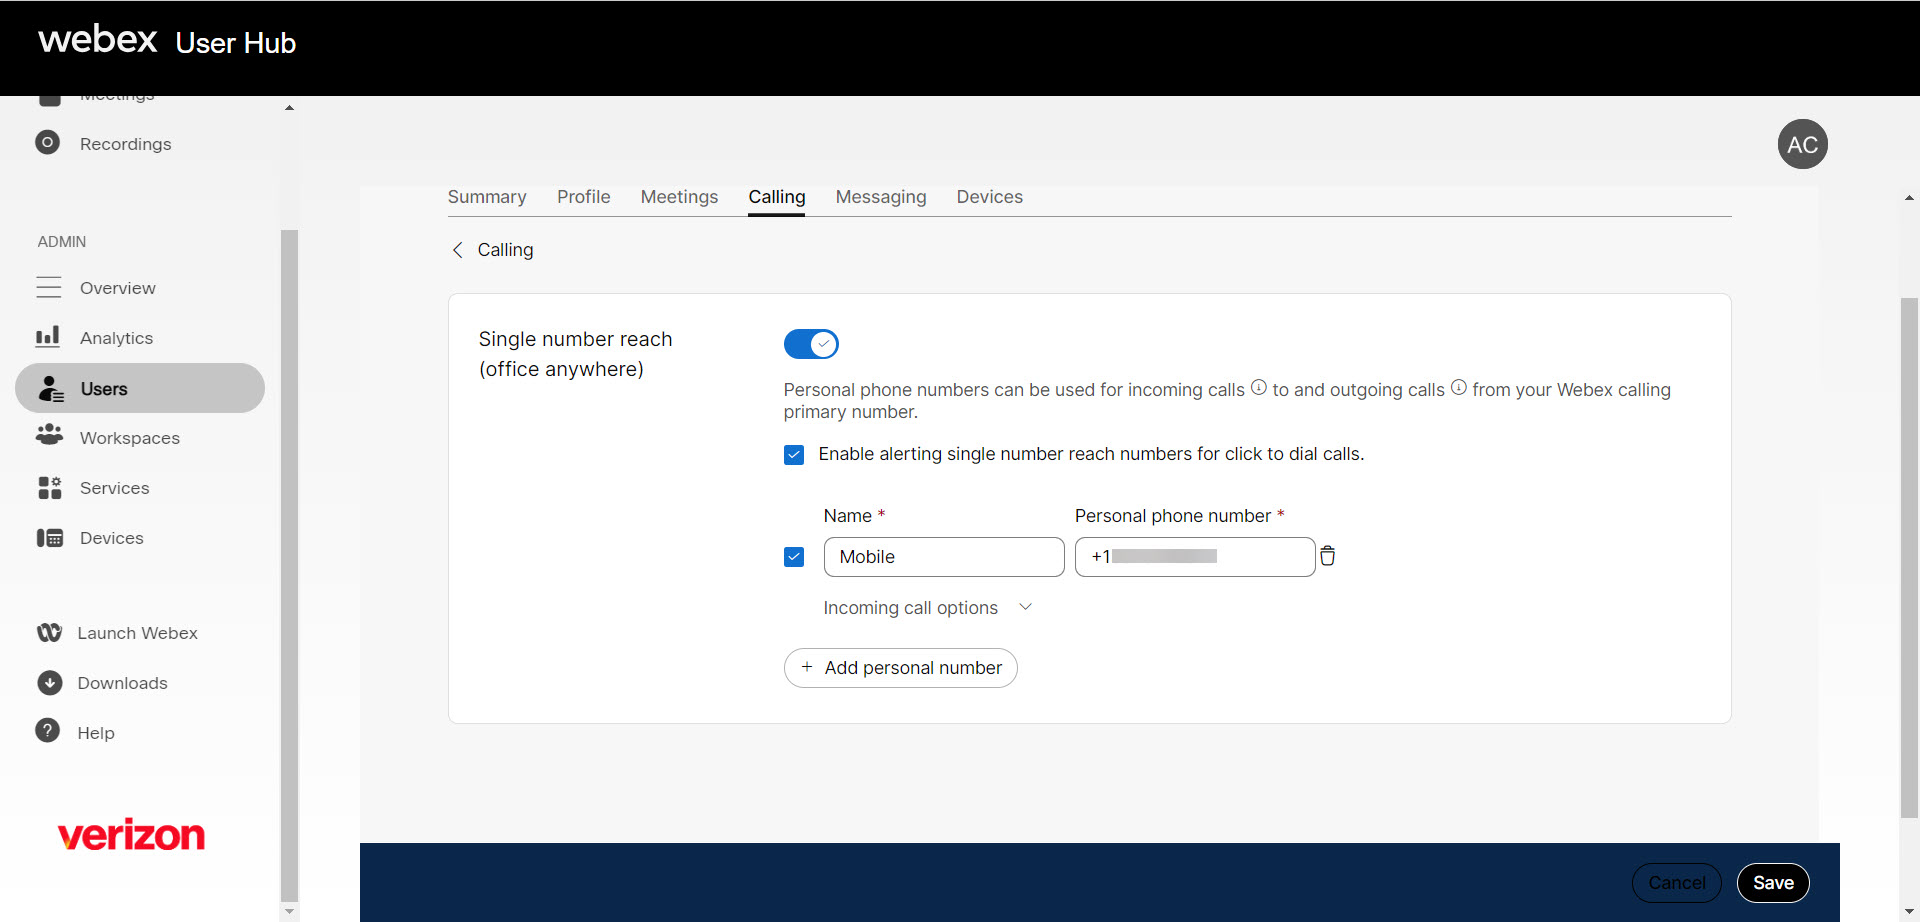
Administrators can add a user's personal numbers as a single number reach. The added numbers ring when the user receives a call on their Webex Calling primary number. The user can use either the primary number or any of the added numbers to make outgoing calls. When the user makes outgoing calls, the caller ID setting of the Webex Calling primary number is used for identity.
- Log in to User Hub.
- Under Admin, in the left menu, select Users.
- Find and select the user you’d like to modify.
- Select the Calling tab.
- Under User call experience, select Single number reach.
- Toggle on to enable.
- Enter the Name and Phone Number to be used as the user's single number reach number and select the check box. Once you've added a phone number, the number gets activated. To deactivate, uncheck the box next to the phone number.
- Click Incoming Call Options to enable any of the following settings for the phone number:
- Do not forward calls—User's calls aren't forwarded, even if the call forwarding is enabled.
- Answer confirmation—When someone calls the user, they're prompted to press a key before being connected. This option enables the callers to know that their call is automatically going to the single number reach (office anywhere) number.
You can also add another personal number by clicking Add Another Personal Number and then following the previous steps.
- Click Save.
A user can also configure and manage single number reach on their own in the User Hub. For more details, click here.