Create and manage announcement files
The announcement files repository centralizes the management of audio files used across various services like auto attendant greetings and music on hold. With this tool, you can update an announcement once and apply it to all relevant instances. This feature allows administrators to efficiently manage company-wide announcements, such as updating a holiday message for the auto attendant.
Feature notes
- You can't delete files that are currently in use.
- You can store up to 1 GB of announcement files across all levels.
- Avoid uploading files with duplicate names.
- Follow these guidelines when uploading audio files:
- Audio file format:
- .WAV files with 8 kHz or 16 kHz, 8-bit or 16-bit mono, µ-law, A-law, or PCM
- .WMA files with 8 kHz or 16 kHz, 16-bit mono, µ-law, A-law, or PCM
- Maximum audio length:
- 2 minutes for a voice message greeting and custom callback user/group.
- 10 seconds for user's voice portal personalized name.
- 10 minutes for the music on hold greeting.
- 5 minutes for all other services.
- Minimum audio length: 5 seconds
- Maximum audio file size: 5 MB
- Audio file format:
Add an announcement file
You can upload a new file to your system or record your own audio file using the recording tool within User Hub.
- Log in to User Hub.
- Under Admin, in the left menu, select Services.
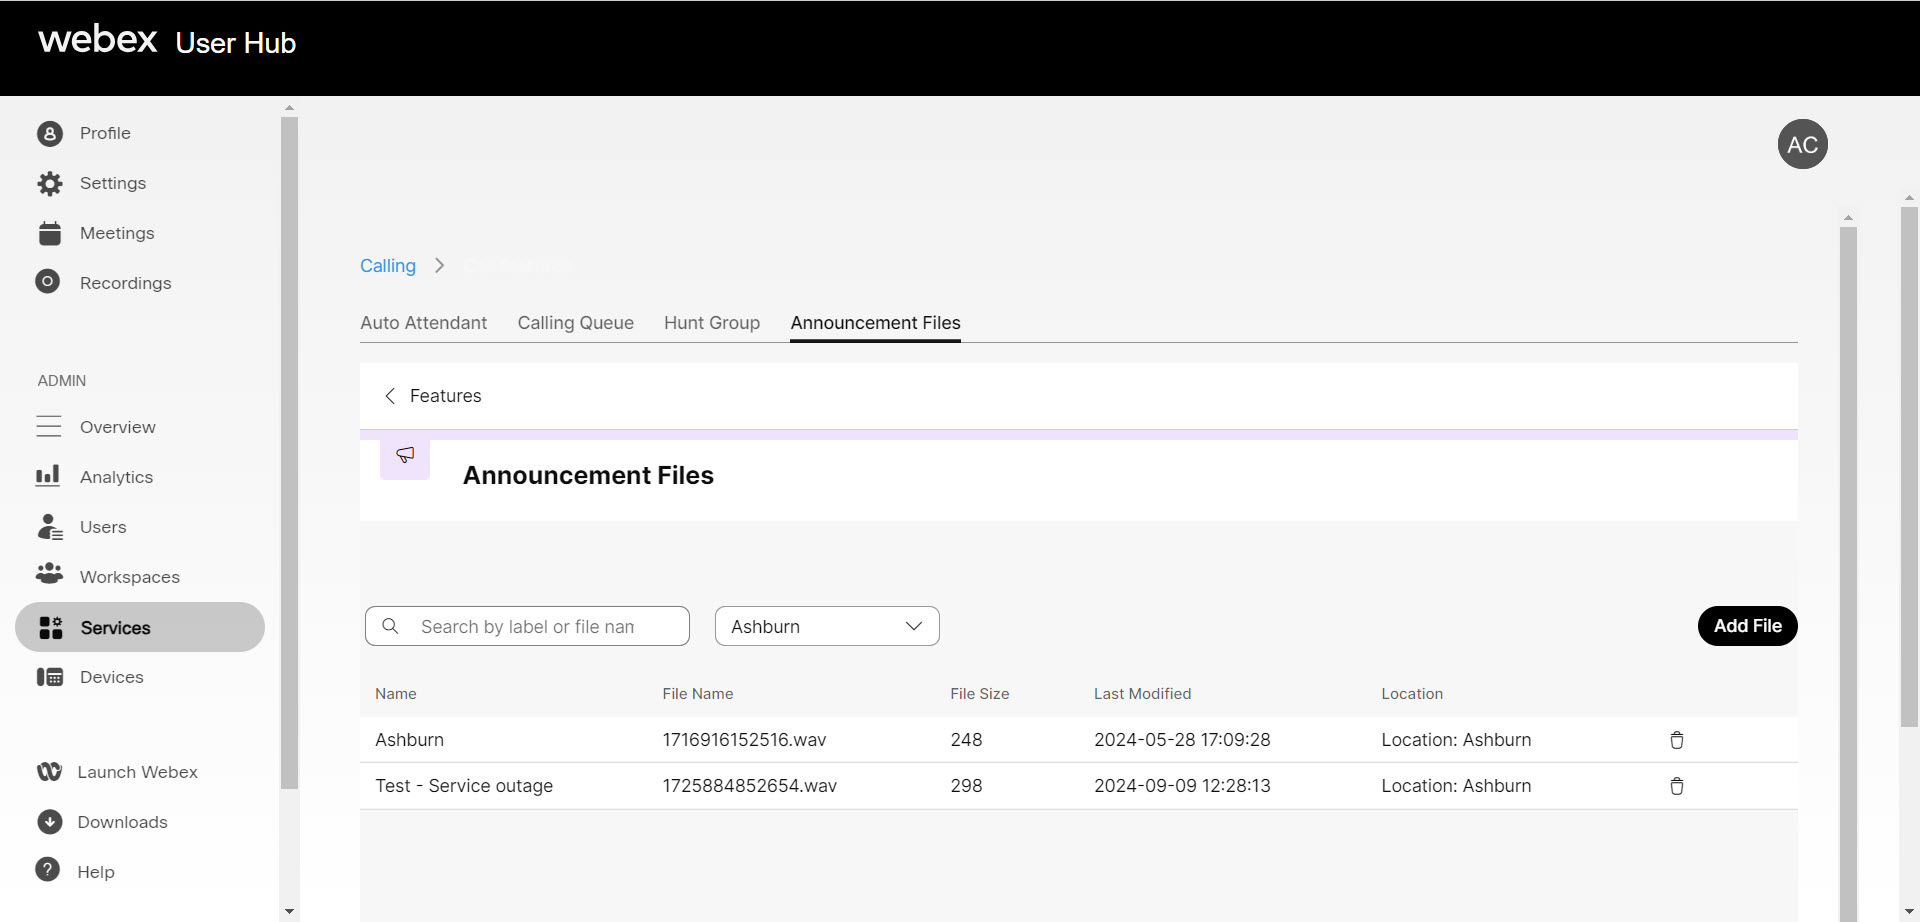
- Select Call features and then select the Announcement Files tab.
- Select Add File.
- Choose whether you’d like to upload a file or record by selecting the Upload or Record tab.
- Choose which level you’d like this announcement file to be available:
- Organization - This option allows this file to be accessed across the organization.
- Location - This option allows this file to be accessed by only the location specified.
- Enter a name for the announcement file.
- Depending on your selection to upload or record, either upload the new file or select the Record icon to record a new audio file.
- Click Select file to save. The uploaded or recorded audio files now list in the Announcements Files page.
Delete or replace an announcement file
You can delete announcement files that aren't actively in use, and you also have the option to replace existing audio files. By replacing a file, you can update the announcement across all associated services. For example, updating the monthly specials announcement.
- Log in to User Hub.
- Under Admin, in the left menu, select Services.
- Select Call features and then select the Announcement Files tab.
- To remove a file from your repository, select the Delete icon next to the file you’d like to remove.
- To replace the file, select the file and then choose Replace file.