
Enhanced 911 (E911) emergency services (RedSky)
The enhanced emergency (E911) service for Business Digital Voice with Webex provides an emergency service designed for organizations with a hybrid or nomadic workforce. It provides dynamic location support and a network that routes emergency calls to Public Safety Answering Points (PSAP) around the US, its territories, and Canada. RedSky provides an emergency call management portal (Horizon Mobility) and an integration point in User Hub.
Important: Federal laws require customers operating voice calling systems with movable or “nomadic” lines to automatically deliver a 9-1-1 caller’s “dispatchable location” to 9-1-1 operators to enable first responders to quickly locate the caller. Learn more about this regulation and your emergency service options here.
Feature notes
The service is enabled on a per-location basis. When a location is fully enabled in User Hub, emergency calls (933 for test calls and 911 for emergency calls) placed from all phones and soft clients assigned to that location in User Hub use RedSky's services. RedSky's role in the solution is as follows:
- Maintains the partner/customer provisioned database that is used to map an emergency call to a dispatchable location.
- Based on a calling device's dispatchable location, directs emergency calls to the correct PSAP with information that allows the PSAP to determine the location where emergency personnel should be dispatched as well as the call-back number.
- Generates optional notifications to enterprise personnel.
Step 1: Log in to Horizon Mobility
When you log into the Horizon Mobility portal for the first time, you will need to follow the Forgot/Reset Password instructions to set up your password. (Your login ID is your email address).
Step 2: Create telephone number locations in Horizon Mobility
Your Enhanced 911 Service is set up and ready for use when your Business Digital Voice with Webex order is completed. In order for 911 calls to automatically provide enhanced location information to 911 Dispatchers, you must configure your organization’s locations repository within the Horizon Mobility portal. The information that is displayed at a PSAP is the Building Address, Location Information, Phone Number, and Company Name.
Your location information must be entered via the E911 Locations page within the Configuration menu.
You must be logged in as an Organization Administrator.
- Log in to the Horizon Mobility portal.
- In the left navigation menu, click Configuration > E911 Locations.
- In Display Mode: Buildings, a table displays the building name and address. Click the arrow next to Main Building to expose the locations.
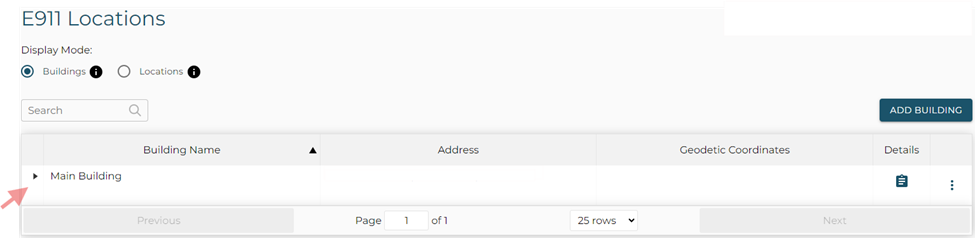
- Click Add location.

- Complete the following fields:
- Location Name: Enter a unique name for the location
- Phone Number: Enter your Business Digital Voice with Webex telephone number
- Location Information: Enter the floor, room number, suite number, or apartment number that corresponds to the Location. Note: While the Location Information field supports up to 60 characters, not all PSAPs support more than 20 characters.
- HTML Link URL (optional): This is used to provide additional notification information. A link placed here can be used to provide a mapping display, an image, or additional Location-specific information.
- Click Save.
A location must be created for each Business Digital Voice with Webex station phone number. Feature phone numbers, such as a hunt group phone number, are not to be added since outbound calls are not made on those phone numbers.
If you wish to temporarily update your location, because you are working from home or another location, you’ll need to select Locations and Edit the address for the Main Building on your RedSky account. If you have employees working from two or more different locations, you need to Add a Building and enter the additional location(s) and then assign the phone numbers to each location accordingly.
Additional information can be found in the Admin Configuration Guide on the Horizon Mobility portal.
Step 3: Set up emergency call notifications
Once you know where your devices are, it’s time to set up emergency call notifications.
To comply with Public Law 115-127, also known as Kari’s Law, any call that's made from within your organization to emergency services must generate an email notification. You can enable notifications across all locations or customize notifications for individual locations, which can be sent to location-specific security personnel.
With the E911 service, you can get notifications to enterprise personnel through email, SMS, or a desktop application. This is configured in RedSky’s Horizon Mobility portal.
When configuring emergency call notifications in the RedSky admin portal, you can do the following:
- Specify multiple email addresses and SMS recipients. For example, you may want your emergency response team, security officer, and/or your main receptionist to get these notifications.
- Bridge your internal emergency team with emergency calls placed by users and provide pop notifications from a desktop application.
- Set up alerts when a 933 test call is placed.
For step-by-step instructions on how to set up notifications (also referred to as alerts), see section 3.1 Alerts & Emails (starting on page 23).
You must be logged in as an organization administrator to view, add, edit, or delete any notifications (alerts).
Important: If you decide not to set up your emergency call notifications with the E911 service, in order to be compliant, you must, at a minimum, set it up using these steps.
Step 4: Enable E911 integration in User Hub
Once you’ve logged into your RedSky account and set up your locations, you can enable (and test) the service with the information needed to deliver emergency calls to the E911 service.
First, it’s important to verify that Enhanced E911 is enabled for your organization in User Hub. Use these steps to test and enable the service.
- From User Hub, select Services from the left navigation.
- Select Calling and then Locations.
- Select the location to edit.
- Select Calling.
- Under Emergency calling, select Enhanced emergency calling.
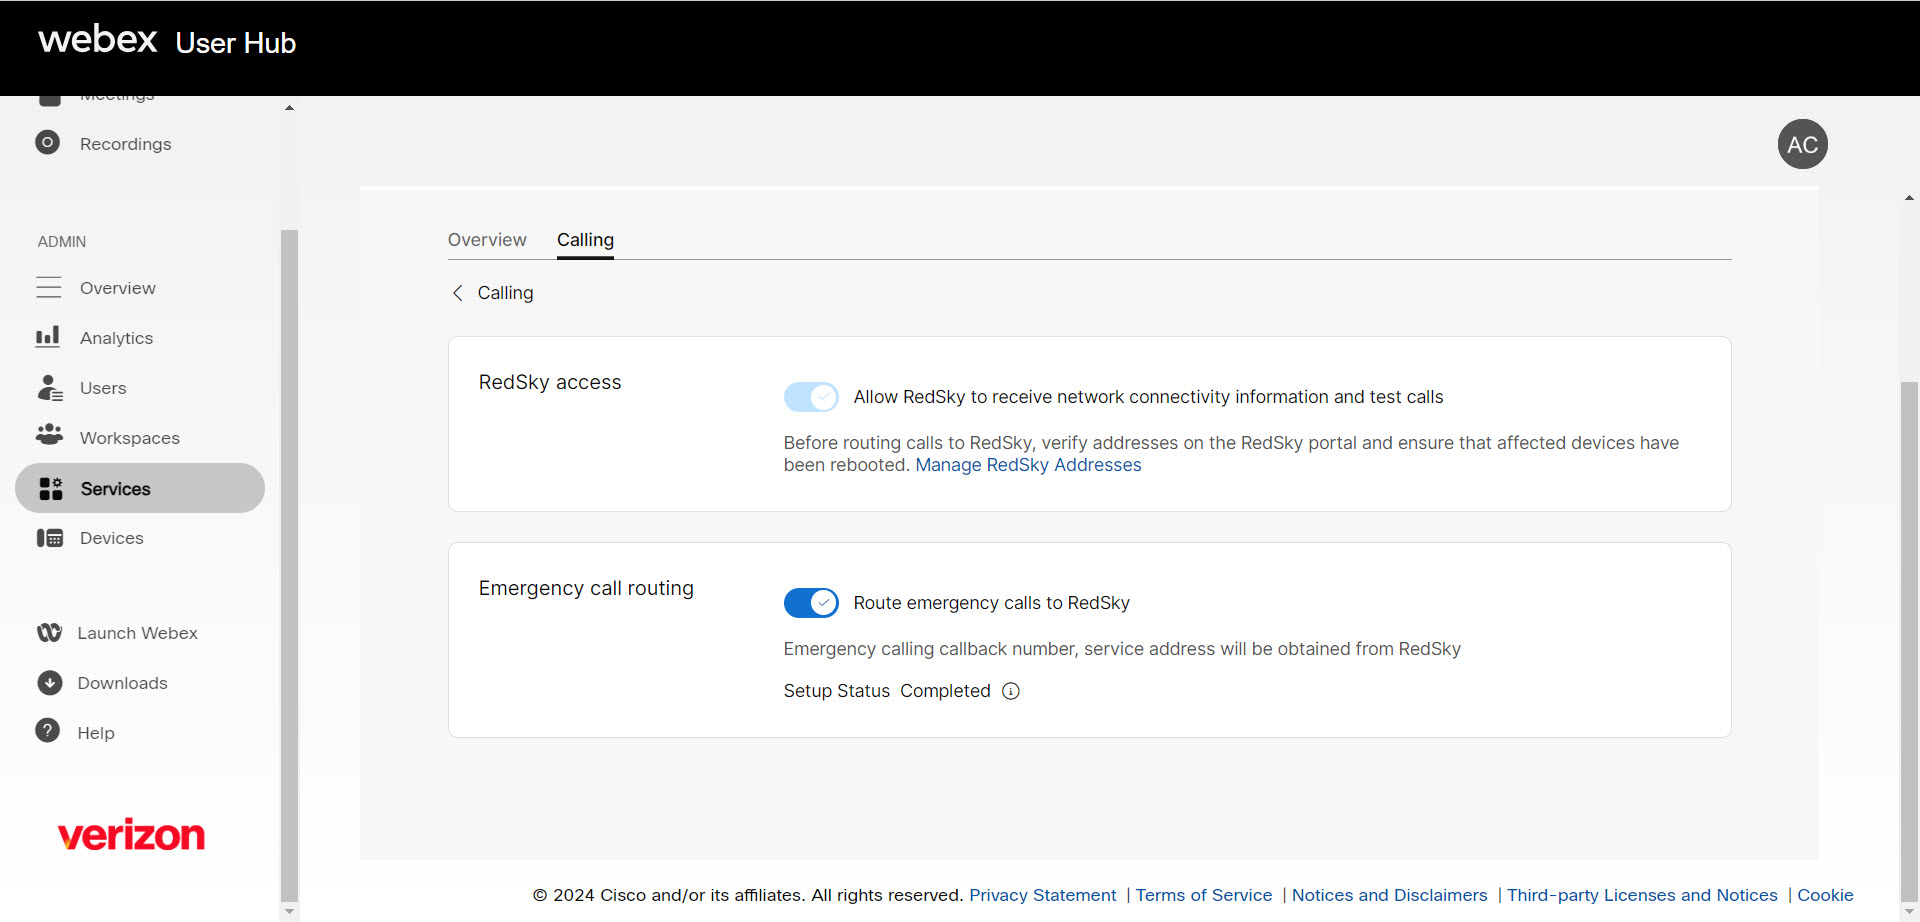
- Confirm RedSky access is toggled on to receive network connectivity information and test calls. This setting also routes all test calls (by dialing 933) from that location to RedSky. At this point, emergency calls (911) are not impacted and are still routed to the PSTN provider.
- After restarting your phones, place test calls to 933 to ensure that the calls are routed properly before you enable full 911 routing for the location. Test calls can be placed from all endpoints assigned to the location, including physical and desktop clients. The test call (933) connects the caller to a RedSky IVR system, which announces the caller ID and currently known address for that device.
It’s not necessary to test mobile devices/apps as those 911 calls are routed via the devices native dialer.
- After you confirm that test calls are routing correctly, return to the Location Calling screen in User Hub.
- Select the toggle next to Route emergency calls to RedSky. This setting ensures that actual 911 calls route to RedSky.
Important: If you haven’t done so already, make sure that you’ve set up an emergency callback number for your locations in order to complete the enhanced emergency setup. For those step-by-step instructions, see this guide.
Additional feature specifications
- In RedSky, there is a setting called HELD/HELD+ Routing Options. If this is toggled on, when an emergency call is made from a HELD / HELD+ device (which did not have an address mapping from the network info), this service will see if there is a matching DID (in Locations or User) and use the corresponding address.
- For Non-HELD devices, the above setting does not have any impact. For Non-HELD devices this service will always see if there is a matching DID (in Locations or User) and use the corresponding address.
