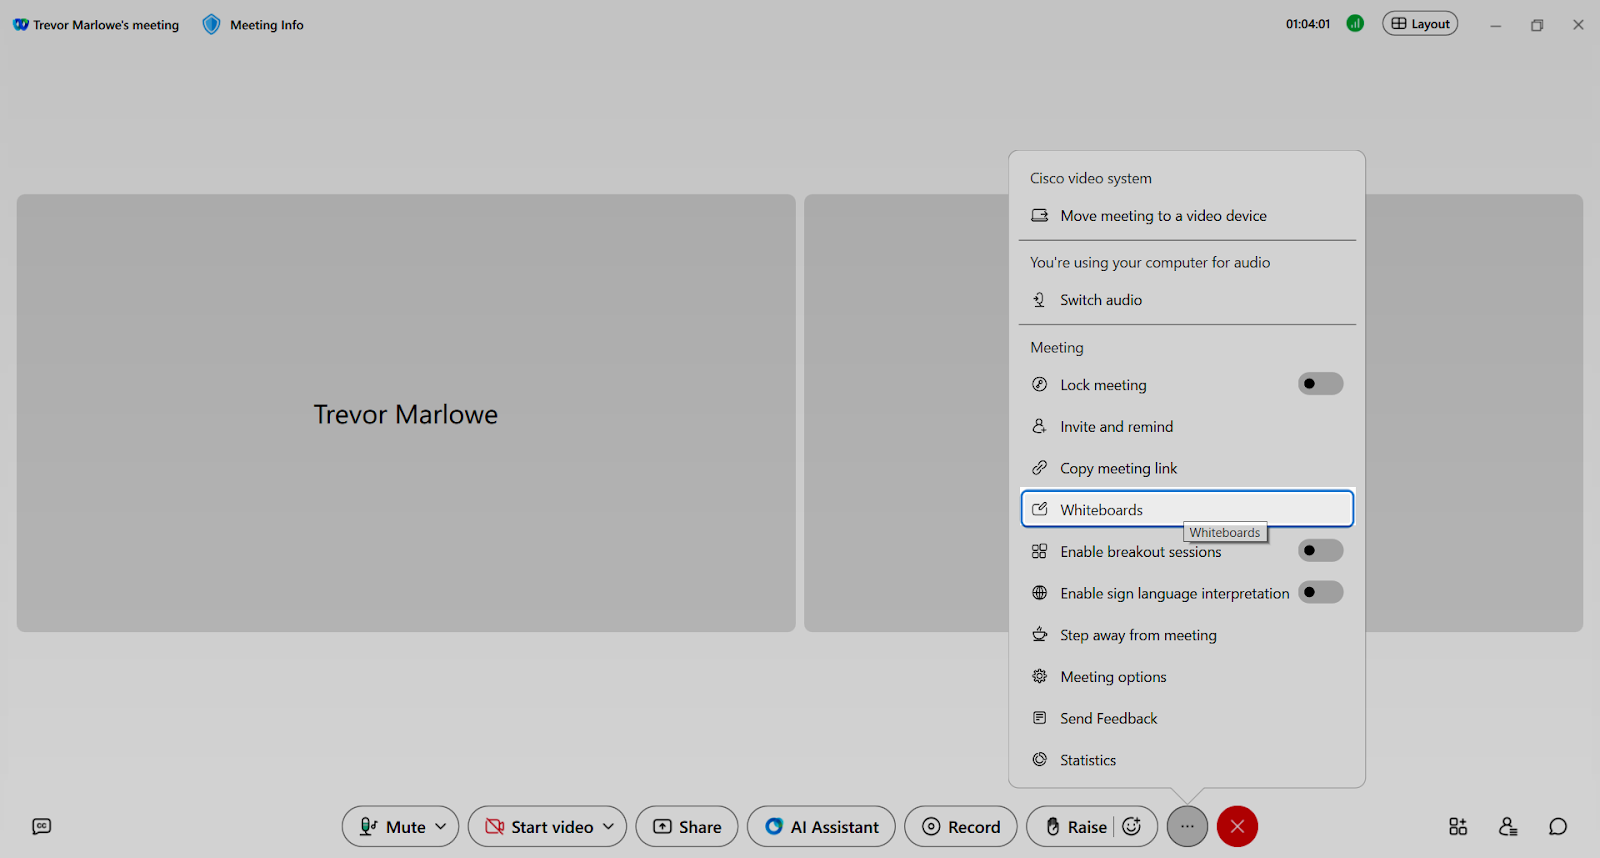
Whiteboard in a meeting
You can create and share a whiteboard during a meeting.
- During a meeting, go to More options and choose Whiteboards.

- Click New whiteboard or select a whiteboard, and then click Open for all.
- Use the following whiteboard tools:
- Move Whiteboard drag—Hold and drag the mouse button to move around the whiteboard canvas.
- Selection whiteboard selection tool—Click the mouse button on an area on the whiteboard, and drag the mouse to select items, and move them on the whiteboard.
When selected, you can choose from the following actions: bring to front, send to back, copy, paste, duplicate, and delete.
- Pen tool Whiteboard pen—Hold and drag the mouse button to draw a line with the pen.
When selected, you can change the thickness and color of the pen.
- Magic pen Whiteboard magic pen—When you select the pen, click the magic pen to make lines or shapes you add with the pen tool automatically smoother and straighter.
- Eraser Whiteboard eraser—Hold and drag the mouse button to erase any annotation on the whiteboard.
- Shapes Whiteboard shapes—Select from a circle, square, or diamond. When selected, drag the shape to the area you want, and resize. You can also fill the shape with color. When you right-click the shape, you can choose to bring to front, send to back, copy, paste, duplicate, and delete.
- Text Whiteboard text—When selected, click on the area you want to add text. You can select the color, format, alignment, and choose the size of the text from these choices: small, medium, large, x-large.
- Stickies Whiteboard sticky notes—When selected, click on the area you want to add sticky notes. Drag the note to the place you want, and select the color of the sticky note. Click the + button to add another sticky note.
- Emojis emojis menu button—Use the emoji picker to select an emoji and place it on the whiteboard. When selected, you can drag to the area you want, and resize. When you right-click the emoji, you can choose to bring to front, send to back, copy, paste, duplicate, and delete.
- Use the following whiteboard controls:
- Undo Undo —Click to undo changes made to the whiteboard.
- Redo Redo —Click to redo changes made to the whiteboard.
- In the top-right corner, click More actions > Export to PDF—Click to save the whiteboard as a PDF.
In the minimap located at the bottom right of the whiteboard:
- Hide Hide —This hides the minimap view. Click again to reopen the minimap.
- Zoom to overview Zoom to overview —Zoom to the width of the area where participants are making edits.
- Zoom in/out Whiteboard zoom controls—This controls the view of the entire whiteboard area.
- When you finish using the whiteboard, select Close for all > Close whiteboard.

